English
 Arabic
 French
 Spanish
 Portuguese
 Deutsch
 Turkish
 Dutch
 Italiano
 Russian
 Romaian
 Portuguese (Brazil)
 Greek
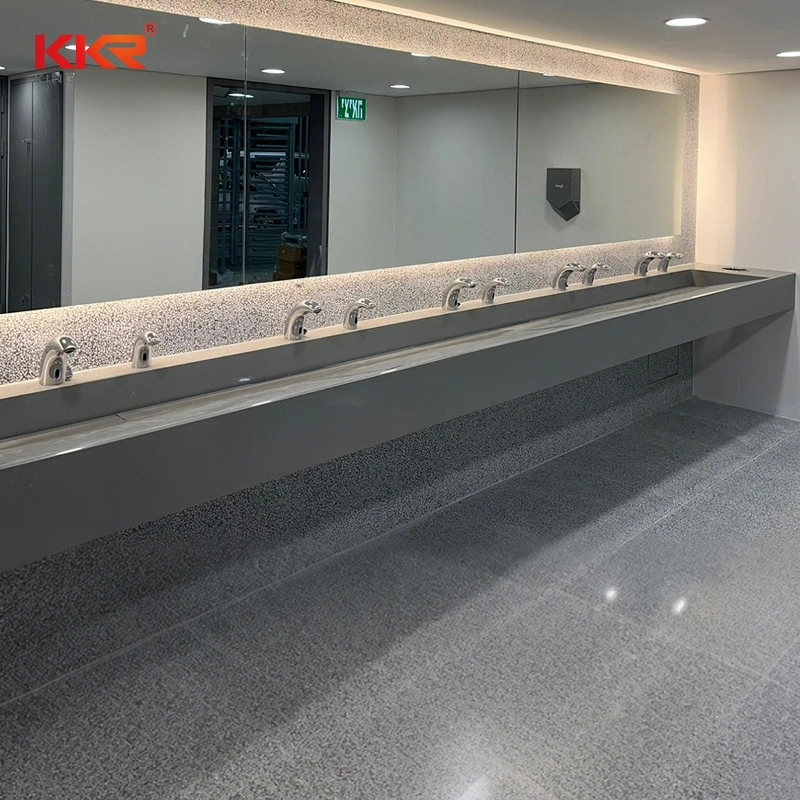
Getting bathroom design right for people with disabilities is about far more than avoiding legal trouble—it is about creating spaces where everyone can move, reach, and wash up without assistance or embarrassment. The sink, though it seems like a minor fixture, is where many accessibility plans quietly succeed or fail. A basin set a couple of inches too high, a faucet that demands a firm twist, or plumbing that blocks a wheelchair's path can turn a simple handwash into a daily struggle. This explanation breaks down the essential ADA bathroom sink sink requirements in plain language, covering the measurements, clearances, and control rules that designers and facility managers need to know before signing off on any restroom project.
Why Sink Accessibility Deserves Serious Attention
It is tempting to treat the bathroom sink as an afterthought once the toilet stalls, grab bars, and doorway widths have been finalized, yet the washbasin is used by nearly every visitor to a building. For someone using a wheelchair, a walker, or crutches, the sink area is often the most physically demanding part of a restroom visit, requiring precise positioning and reach. Poorly planned installations can force users to lean dangerously, skip washing altogether, or require assistance they would rather not need. Paying close attention to sink accessibility is therefore an investment in both compliance and human dignity, and it begins with understanding the specific standards that govern height, clearance, and controls.
Getting the Height Right for Seated Users
The most frequently cited ADA rule for sinks concerns how high the rim sits above the finished floor. Standard requirements call for the sink's top edge to be no more than 34 inches from the ground, a measurement chosen so that a seated user can comfortably reach the basin and the water stream without overextending. Just as important is the vertical space beneath the sink, which must allow a wheelchair's armrests and legs to fit underneath without collision. Designers sometimes forget that the height of the surrounding counter matters too, since an accessible sink set into a standard-height vanity can create an awkward, unusable arrangement even if the basin itself technically meets the number. The safest approach is to treat the entire sink assembly as one accessible unit.
Understanding Knee and Toe Clearance Dimensions
Clearance beneath the basin is where accessibility plans most often stumble. The ADA specifies that there must be sufficient knee clearance—generally around 27 inches of height, 30 inches of width, and 11 to 25 inches of depth—so that a wheelchair can pull forward and the user's knees fit comfortably under the fixture. Toe clearance extends further back and lower down, accommodating footrests that extend beyond the knees. Insulating the plumbing is part of this picture as well, since exposed hot water and drain pipes must be covered to protect users' legs from burns and scrapes. When plumbing cannot be concealed within a wall, protective wraps should be installed and checked regularly, because damaged insulation can quietly create a hazard in a restroom that otherwise appears fully compliant.
Faucet Operation and Reach Range Rules
A sink is only accessible if its controls can actually be operated from a seated position. ADA guidance requires faucets to be usable with one hand and without tight pinching, grasping, or twisting motions, which is why lever handles, push paddles, and sensor-activated fixtures dominate accessible design. Controls must also fall within a comfortable reach range, meaning they should be positioned near the front edge of the basin rather than buried at the back where a user would have to stretch. Self-closing valves must stay open long enough for a proper handwash, typically around ten seconds, so users are not forced to repeatedly activate the water mid-wash. These details sound small on paper but make an enormous difference in daily usability.

Avoiding Common Installation Mistakes
Even well-intentioned projects run into predictable pitfalls that undermine an otherwise solid accessibility plan. One frequent error is installing a beautiful vessel or undermount sink that looks modern but eliminates the required knee space. Another is placing the soap dispenser or hand dryer outside the reach range of a seated user, creating a gap in the washing routine. Mirrors mounted too high, towel dispensers positioned behind the user, and pipes left exposed without insulation all chip away at genuine accessibility. Reviewing the full sequence of a restroom visit—approach, wash, dry, exit—during the design phase helps catch these issues before they become permanent fixtures that frustrate users for years.
Final Thoughts on Building Truly Inclusive Restrooms
Meeting ADA sink requirements is ultimately a matter of combining precise measurements with empathy for how real people use a space. Height, clearance, and faucet rules provide the framework, but thoughtful design fills in the gaps that regulations cannot anticipate. Whether renovating an aging public facility or specifying fixtures for new construction, taking the time to verify each dimension and control placement pays off in restrooms that serve every visitor with equal ease. KingKonree's accessible sink solutions are built with these standards in mind, offering specifiers dependable options that turn compliance into genuine comfort for all users.